Oh My Goodness! I was up very late on Wednesday night making the bean bag pumpkins for Pumpkin Chuckin’, but it was worth it – the little ones really enjoyed playing the game! I got the idea for the game from Pinterest.
How I Made the Bean bags:
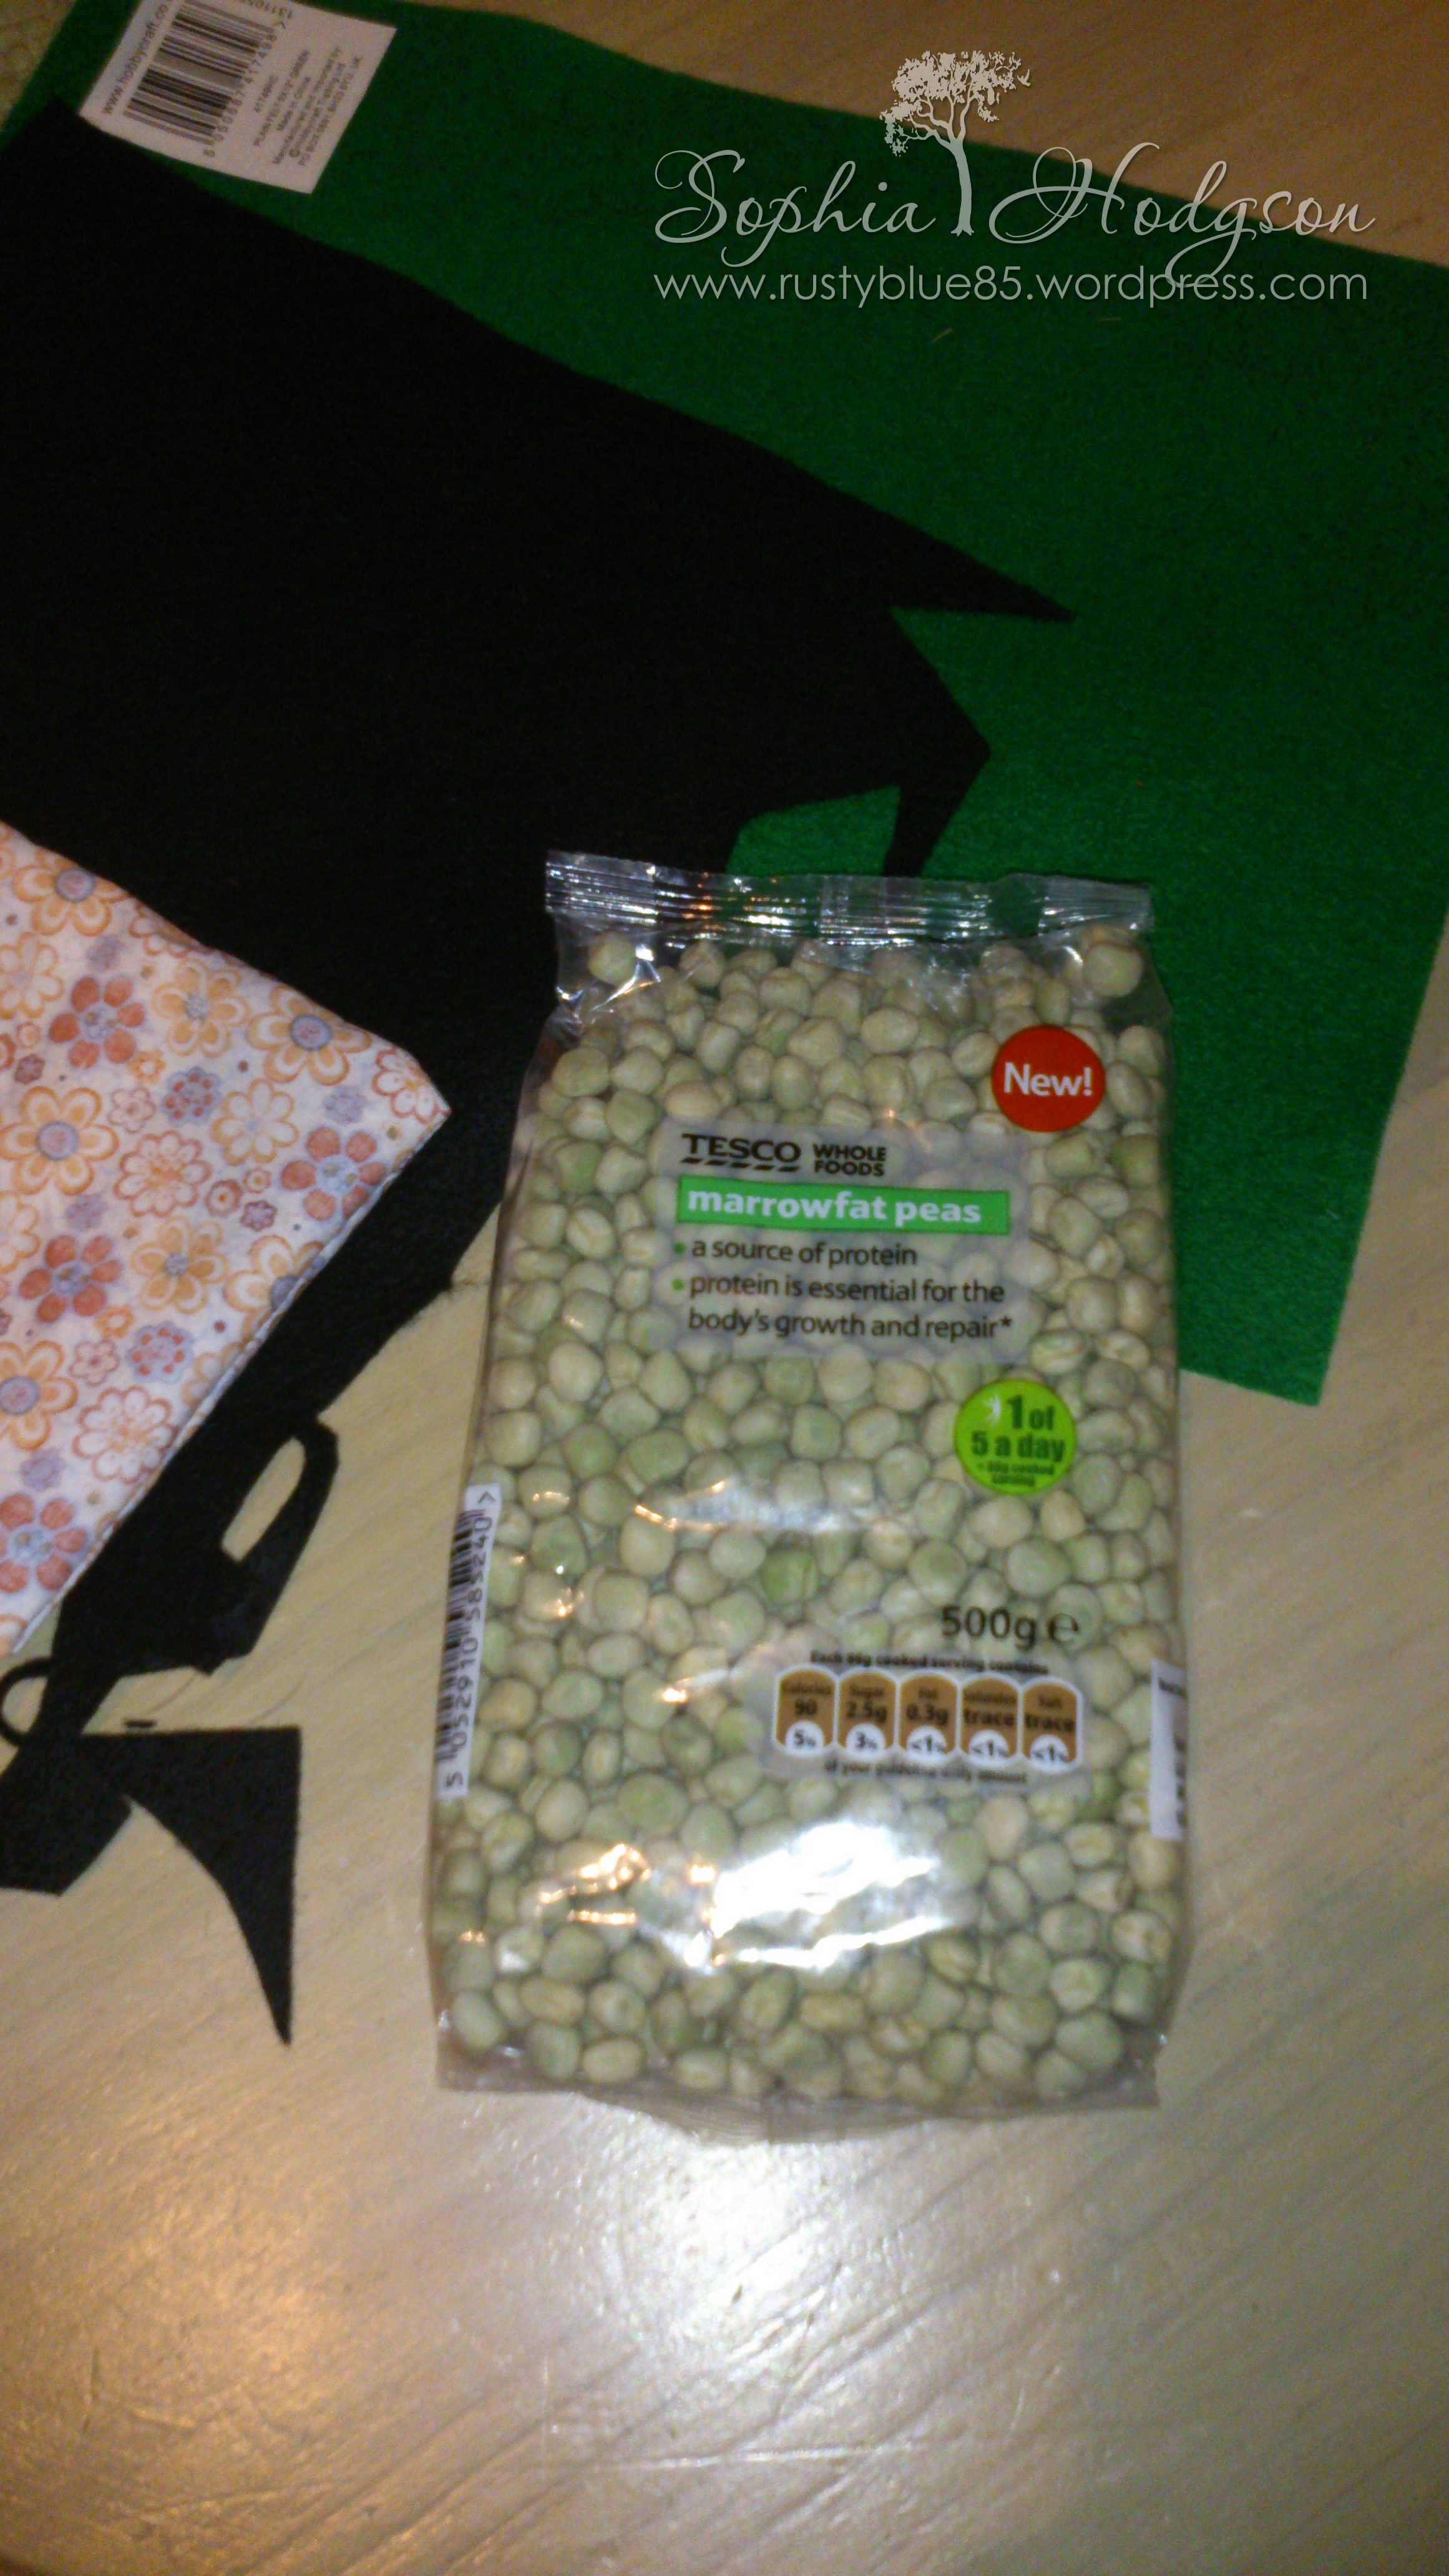
I bought some cotton fabric (doesn’t matter what it looks like because this is the internal bean bag, mine was all flowery!!), Marrowfat Peas and lots of orange felt rectangles and one green and one black felt rectangle.
All of the making steps I did in bulk, conveyerbelt fashion.
I cut 10x 6 inch squares of the cotton fabric, pinned two squares together and then sewed three sides together on the sewing machine, I then turned them inside out so I had 5 pouches. I put 1 cup of Marrowfat Peas into each ‘pouch’ and then sewed the opening shut on the sewing machine. I had 5 bean bags ready to stuff into my ‘pumpkins’.
From the orange felt I cut 10x 7 inch squares. From the green felt I cut 5x rectangles that were about 2 inches by 2 1/2 inches, I folded them in half along the 2 inch side so I had a 1 inch by 2 1/2 inch rectangle, then machine stitched around the edge to keep the shape – these would be my stalks. From the black felt I cut 10 triangles for eyes and 5 mouth shapes. I hand sewed these to 5 of the orange squares with black thread, then when I was done I placed a ‘face’ onto a plain orange square, face facing inwards, then I got a stalk and made sure most of it was inside the sandwich, with just a little bit peeking out of the top of my orange felt sandwich. I machine stitched almost all the way around my sandwich, BUT MADE SURE I LEFT ENOUGH TO BE ABLE TO PUT THE BEAN BAG IN THE HOLE LEFT. Then I turned my pumpkins inside out so the stalks were pointing out the top & faces were on the outside of the bag, I then gently pursuaded one bean bag per pumpkin to go in and hand sewed the hole shut.
How I made the Pumpkin Target:
I bought some Westfoam 5mm Foamboard and some Acrylic paints (orange, black and green).
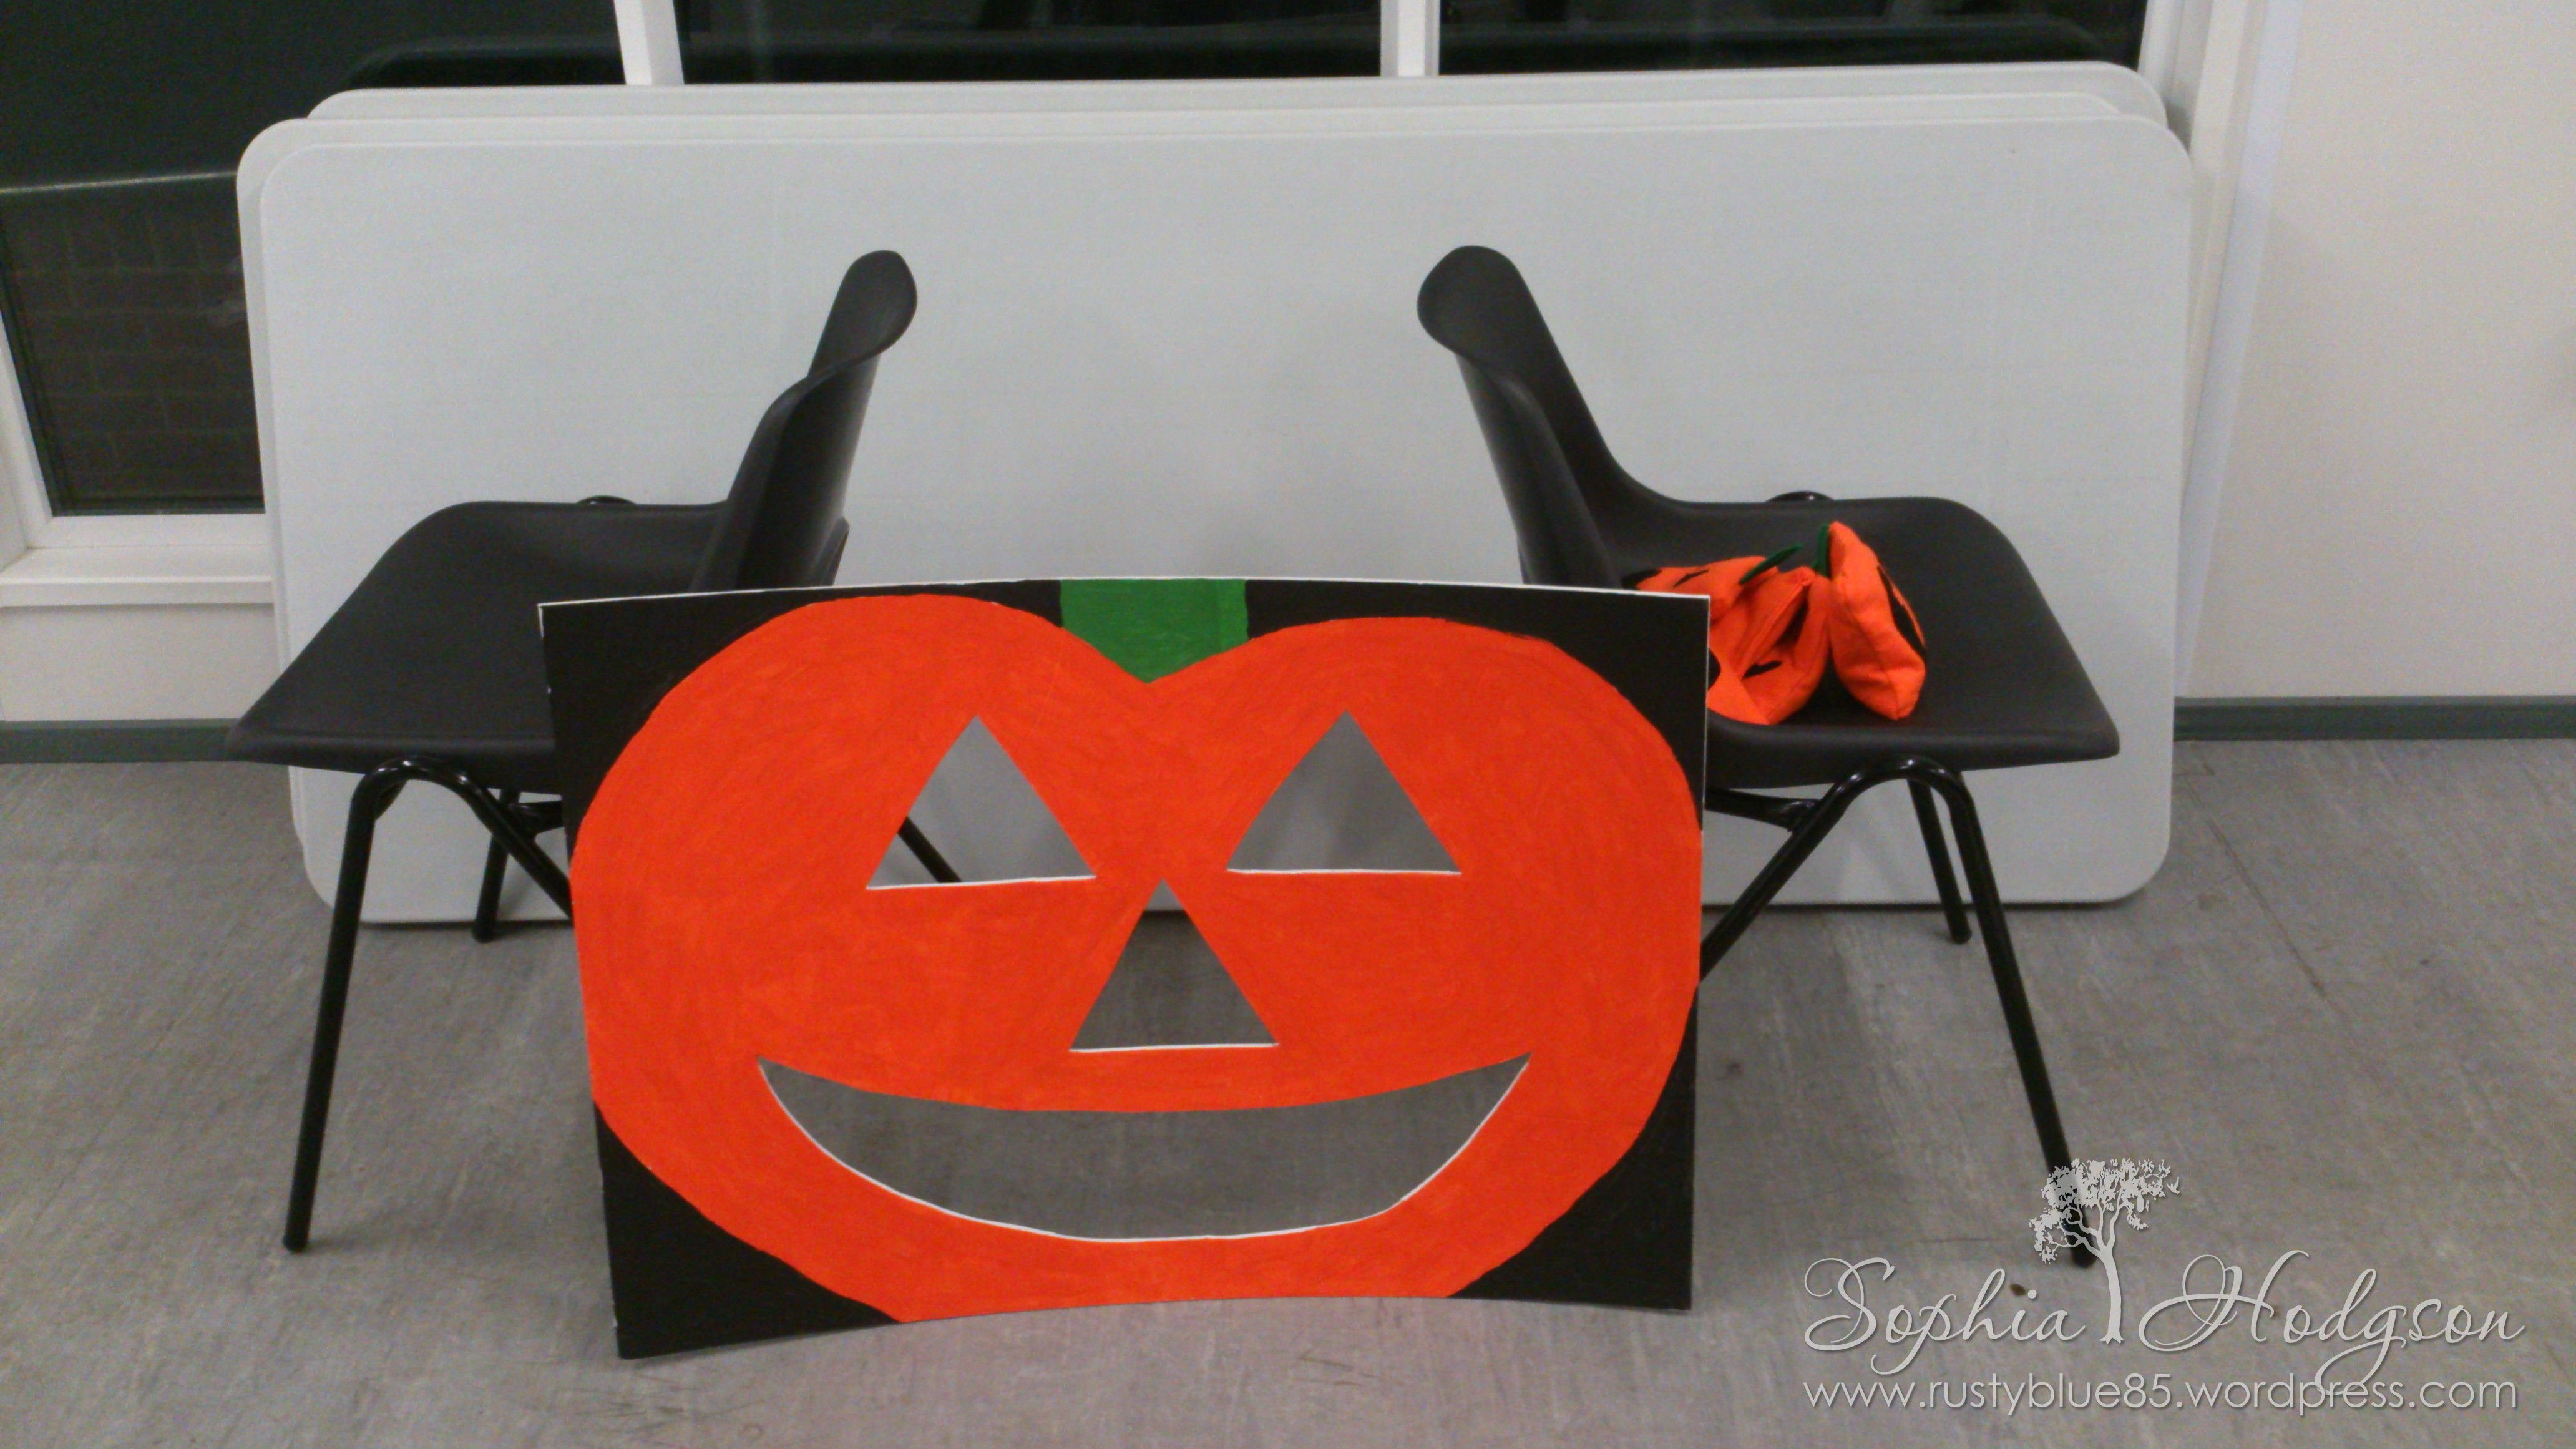
I drew on the foamboard in pencil until I was happy with the pumpkin, then using my craft knife and self-healing cutting mat on the floor I cut out the eyes, nose and mouth holes. Using the pencil lines as a guide I painted the pumpkin with acrylic paints and let it dry overnight.
To set up the game:
Put two chairs back-to-back and prop the target up against the chairs, then separate the chairs so they are supporting the foam at the edges & not obstructing the holes the kiddies will be aiming for! Give the little ones bean bags & let the Chuckin’ begin!!!

What do you think? Something you might want to try next year? It’s a really good game for toddlers! Enjoy the rest of your Halloween!!!


What a great game. They look fab.
Thanks! We had lots of toddlers at the Halloween party & they loved it!