Today is my Step-Mother’s birthday, I posted her card last week so I hope she gets it today (she lives in Thailand, so I always worry that it will get lost in the post or take ages to get there). She loves card making too and she loves to recieve handmade cards so I wanted to send her a lovely card that had ‘the wow factor’. I hope this card has it!
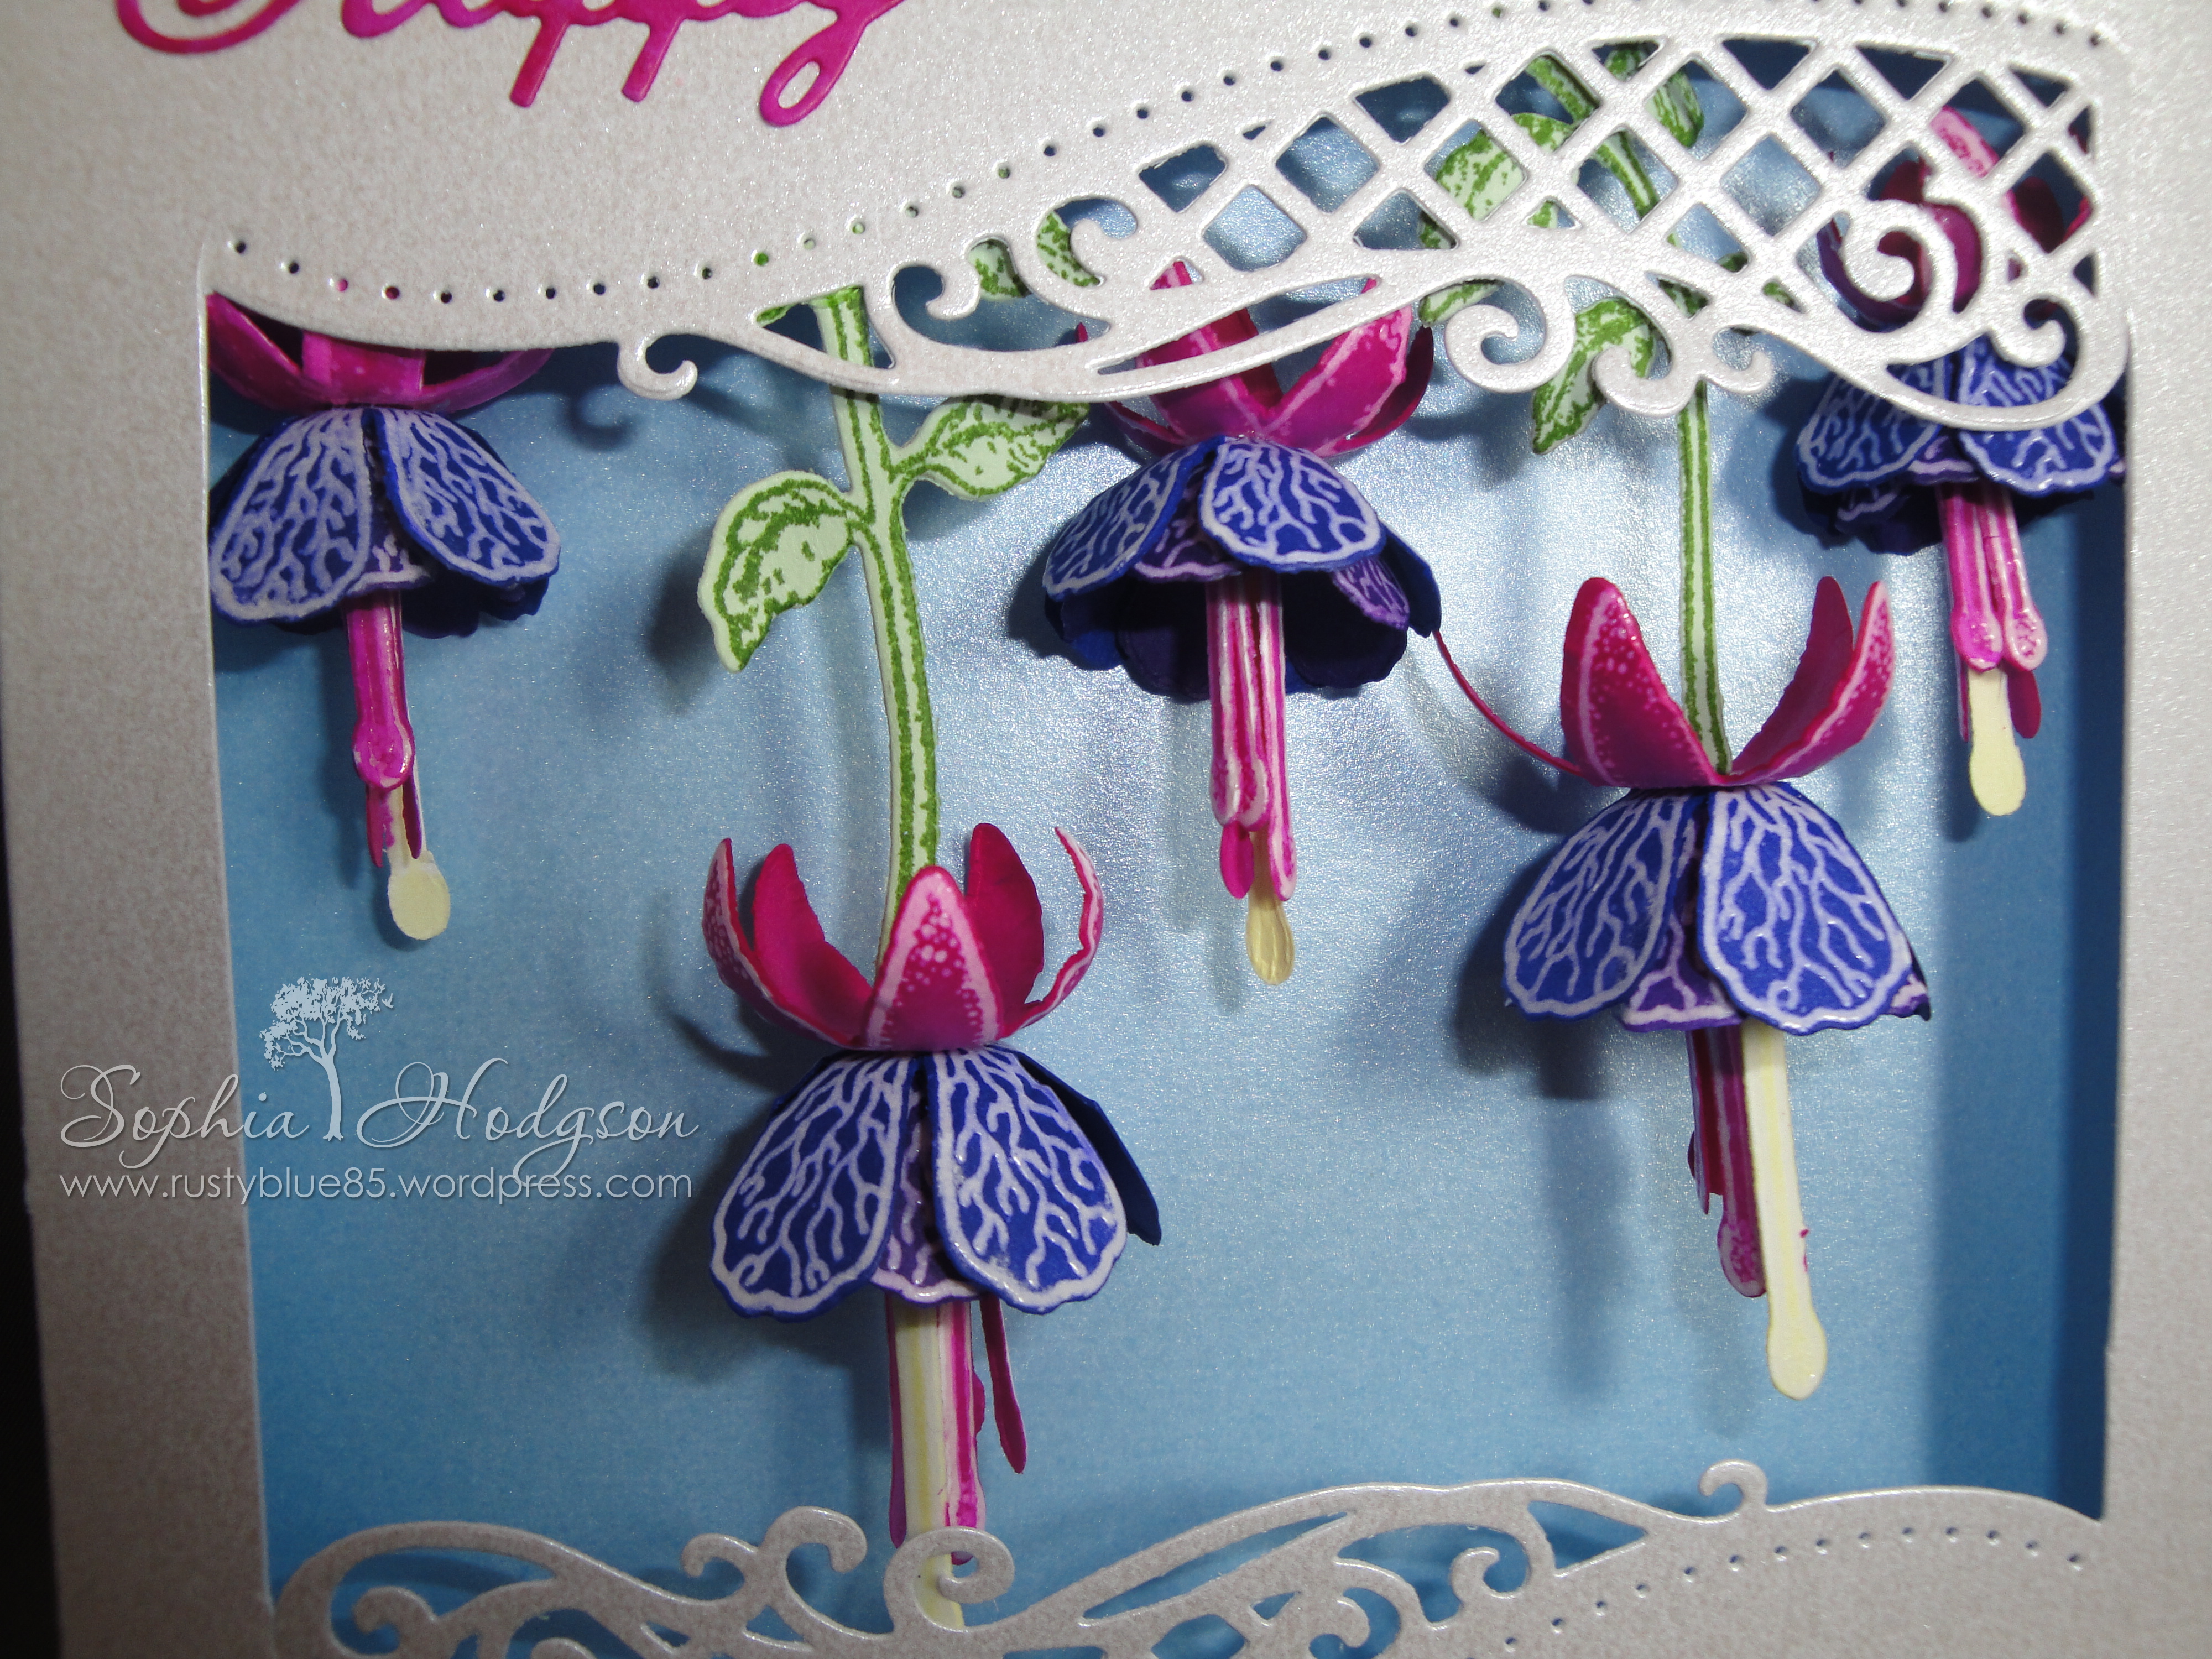
You must have guessed by now I love Heartfelt Creations flower stamp and die sets, so it won’t surprise you that I saw the ‘Cascading Fuchsia’ stamp and die set and HAD to get them! I stamped the largest and second largest of the ‘Cascading Fuchsia’ stamps onto Neenah card in VersaMark ink, then used Papermania clear embossing powder and my heat gun to create the designs on the petals. I used the corresponding ‘Cascading Fuchsia’ dies to cut out the petals and stamens.
Next I coloured the die-cuts on the reverse with the chisel nib of my Spectrum Noir alcohol pens (this meant that the clear embossing powder was able to resist the ink that bled through the card and became visible). Pens used: stamens – LY2 and BP6, bottom (smaller) petals – PL5, middle (largest) petals – LV3, top petals BP6.
Whilst the petals were still wet with ink I used my Deluxe Flower Shaping Kit to shape them, then I used Hi-Tack glue to stick them together (see this YouTube video from Heartfelt Creations on how to shape and build the flowers).
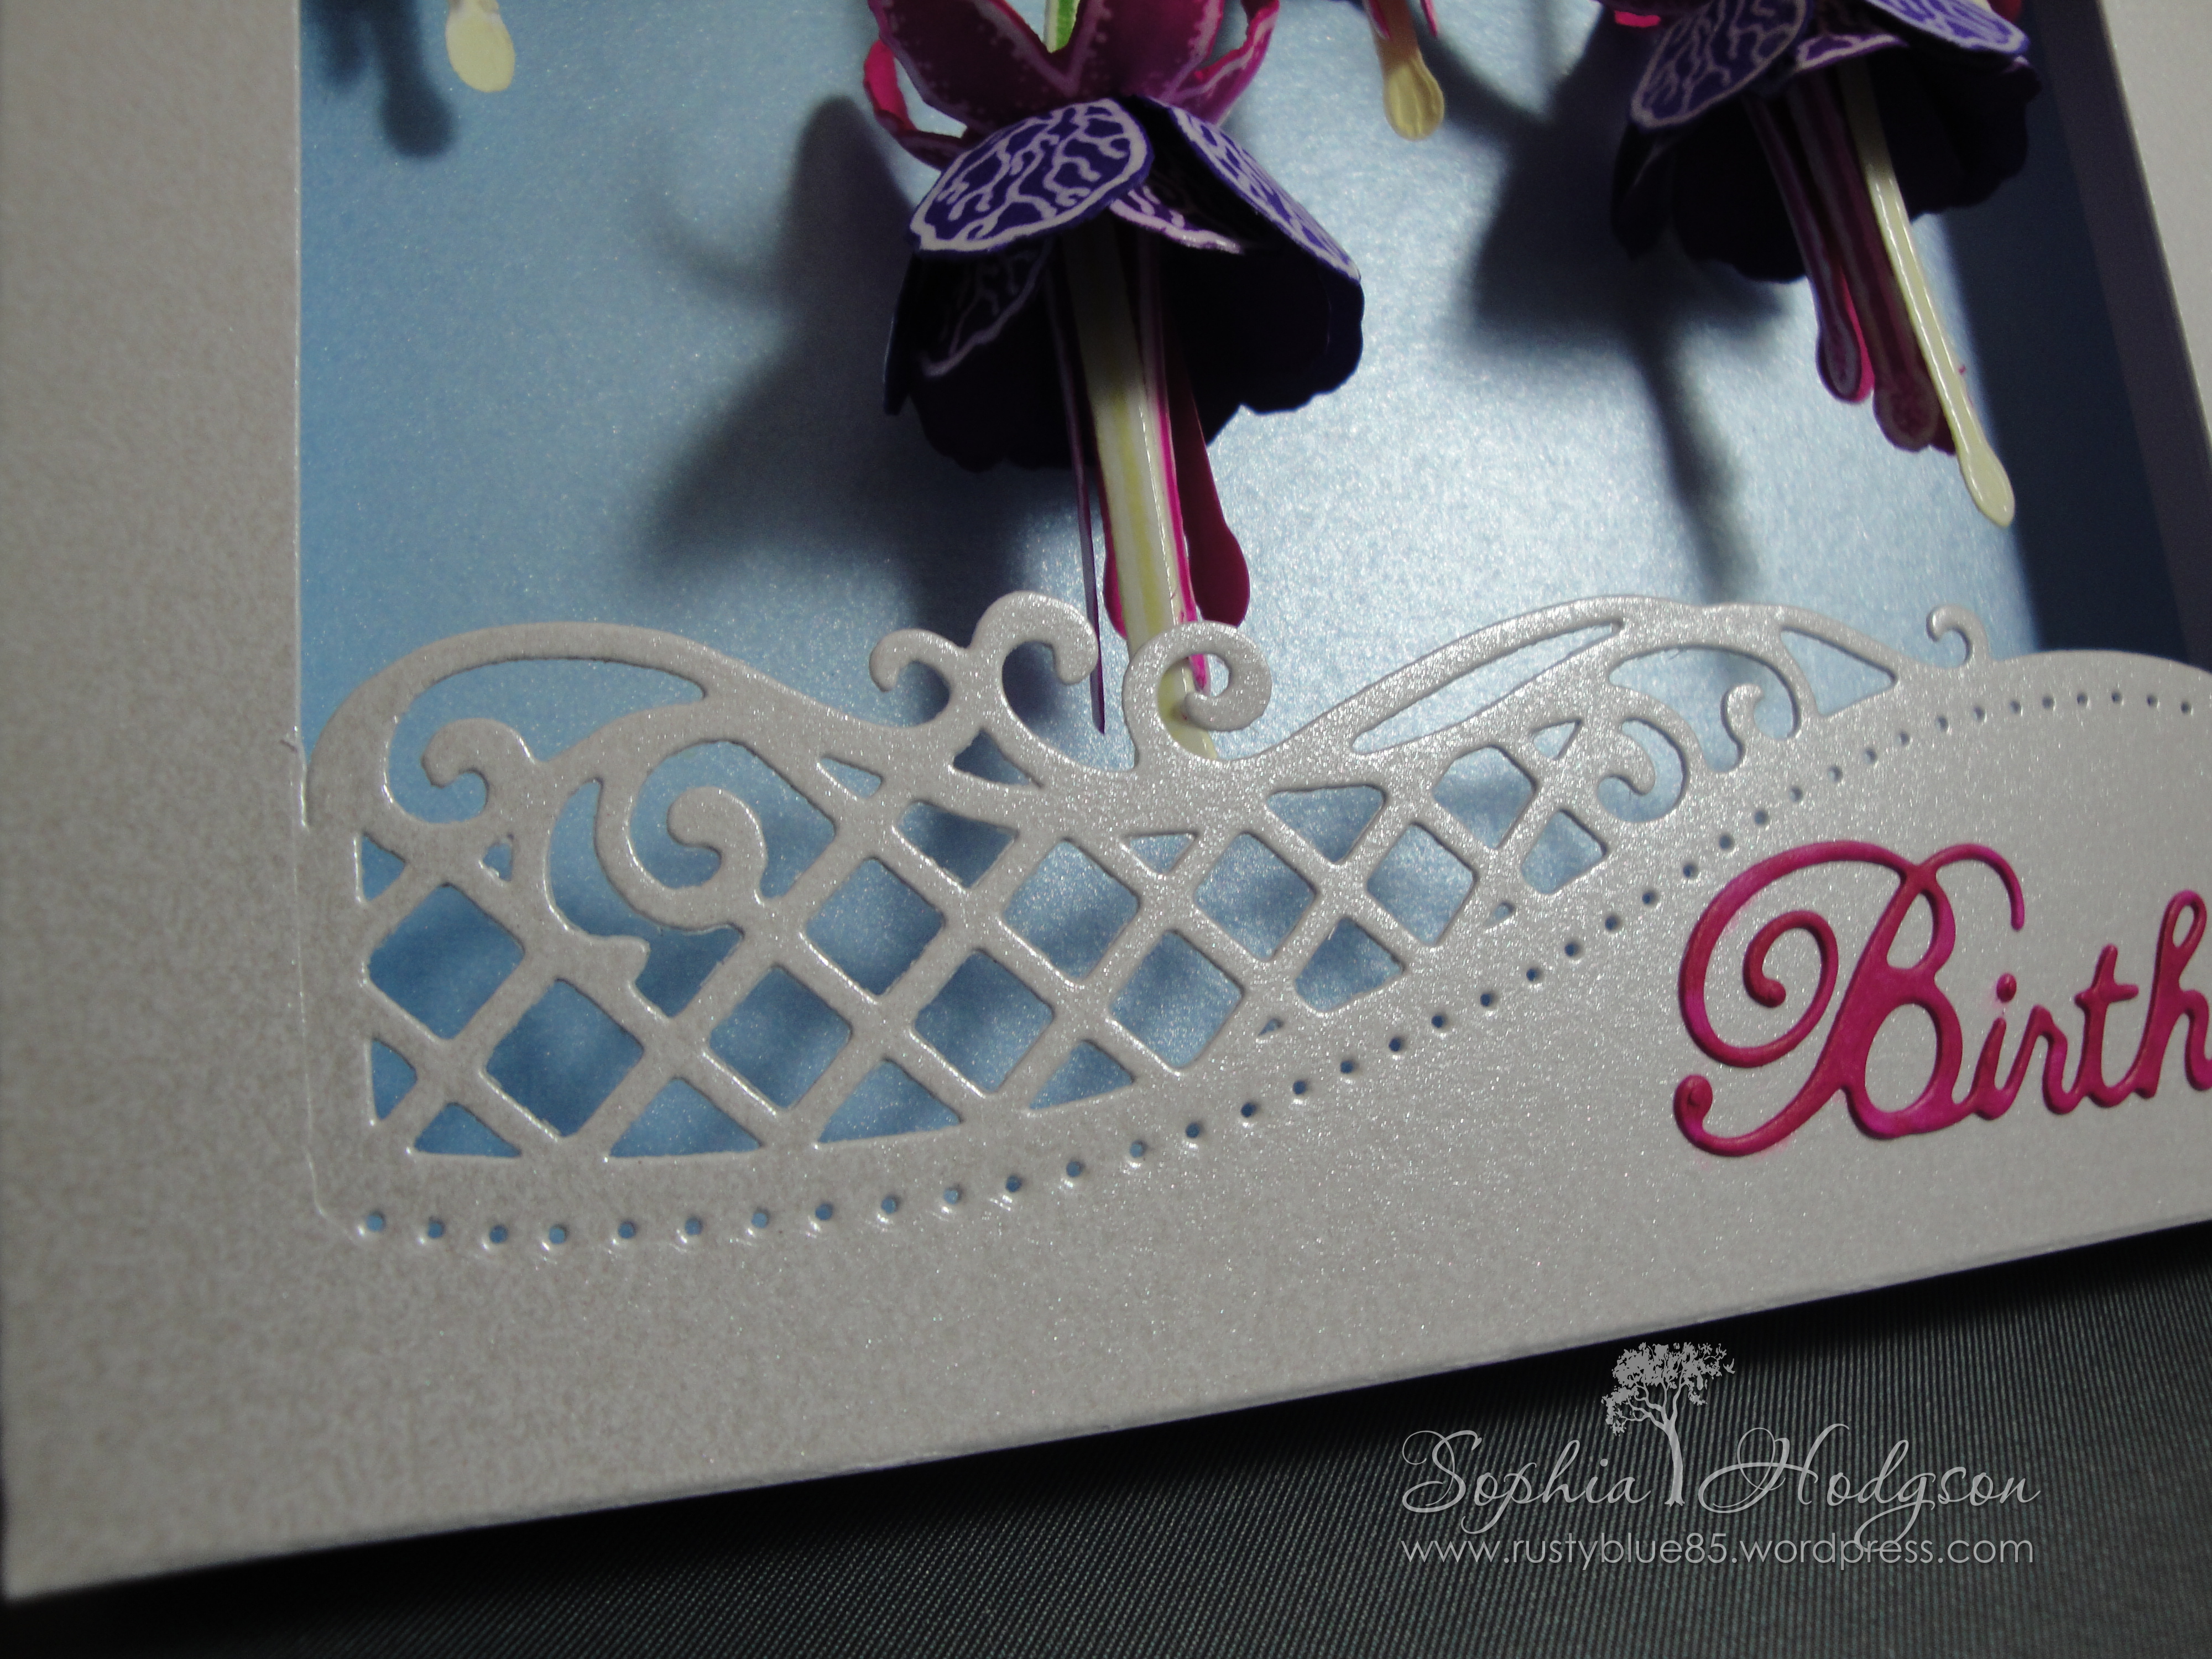
Now I had the flowers, they needed a card to go on! I bought the Crafter’s Inspiration Issue 8 magazine and it came with an exclusive die; the Edge’ables ‘Lattice Flourish’. I wanted to create a window with the die that the fuchsias could hang inside, so I cut the die from some A4 Centura Pearl Snow White card, then used my paper trimmer to cut down from both edges of the die, flipped the die and cut out the bottom of the window. Then I scored around the ‘window’ to create a frame that would stand proud of the card front. I used Hi-Tack glue to glue all the bits together, except one side. I cut a piece of light blue Centura Pearl card to go behind the fuchsias and slid this in the last open side, then glued it all in place.
 Once the frame was dry I positioned the fuchsias where I wanted them. I decided I didn’t want them floating in mid-air so I stamped and die cut the vines from the ‘Jars and Vines’ set in Lucky Limeade ink on Pistachio Pudding card. I shaped and trimmed some vines and adhered them to the top of some of the fuchsias. When I was happy with the composition I adhered the fuchsias with Hi-Tack glue.
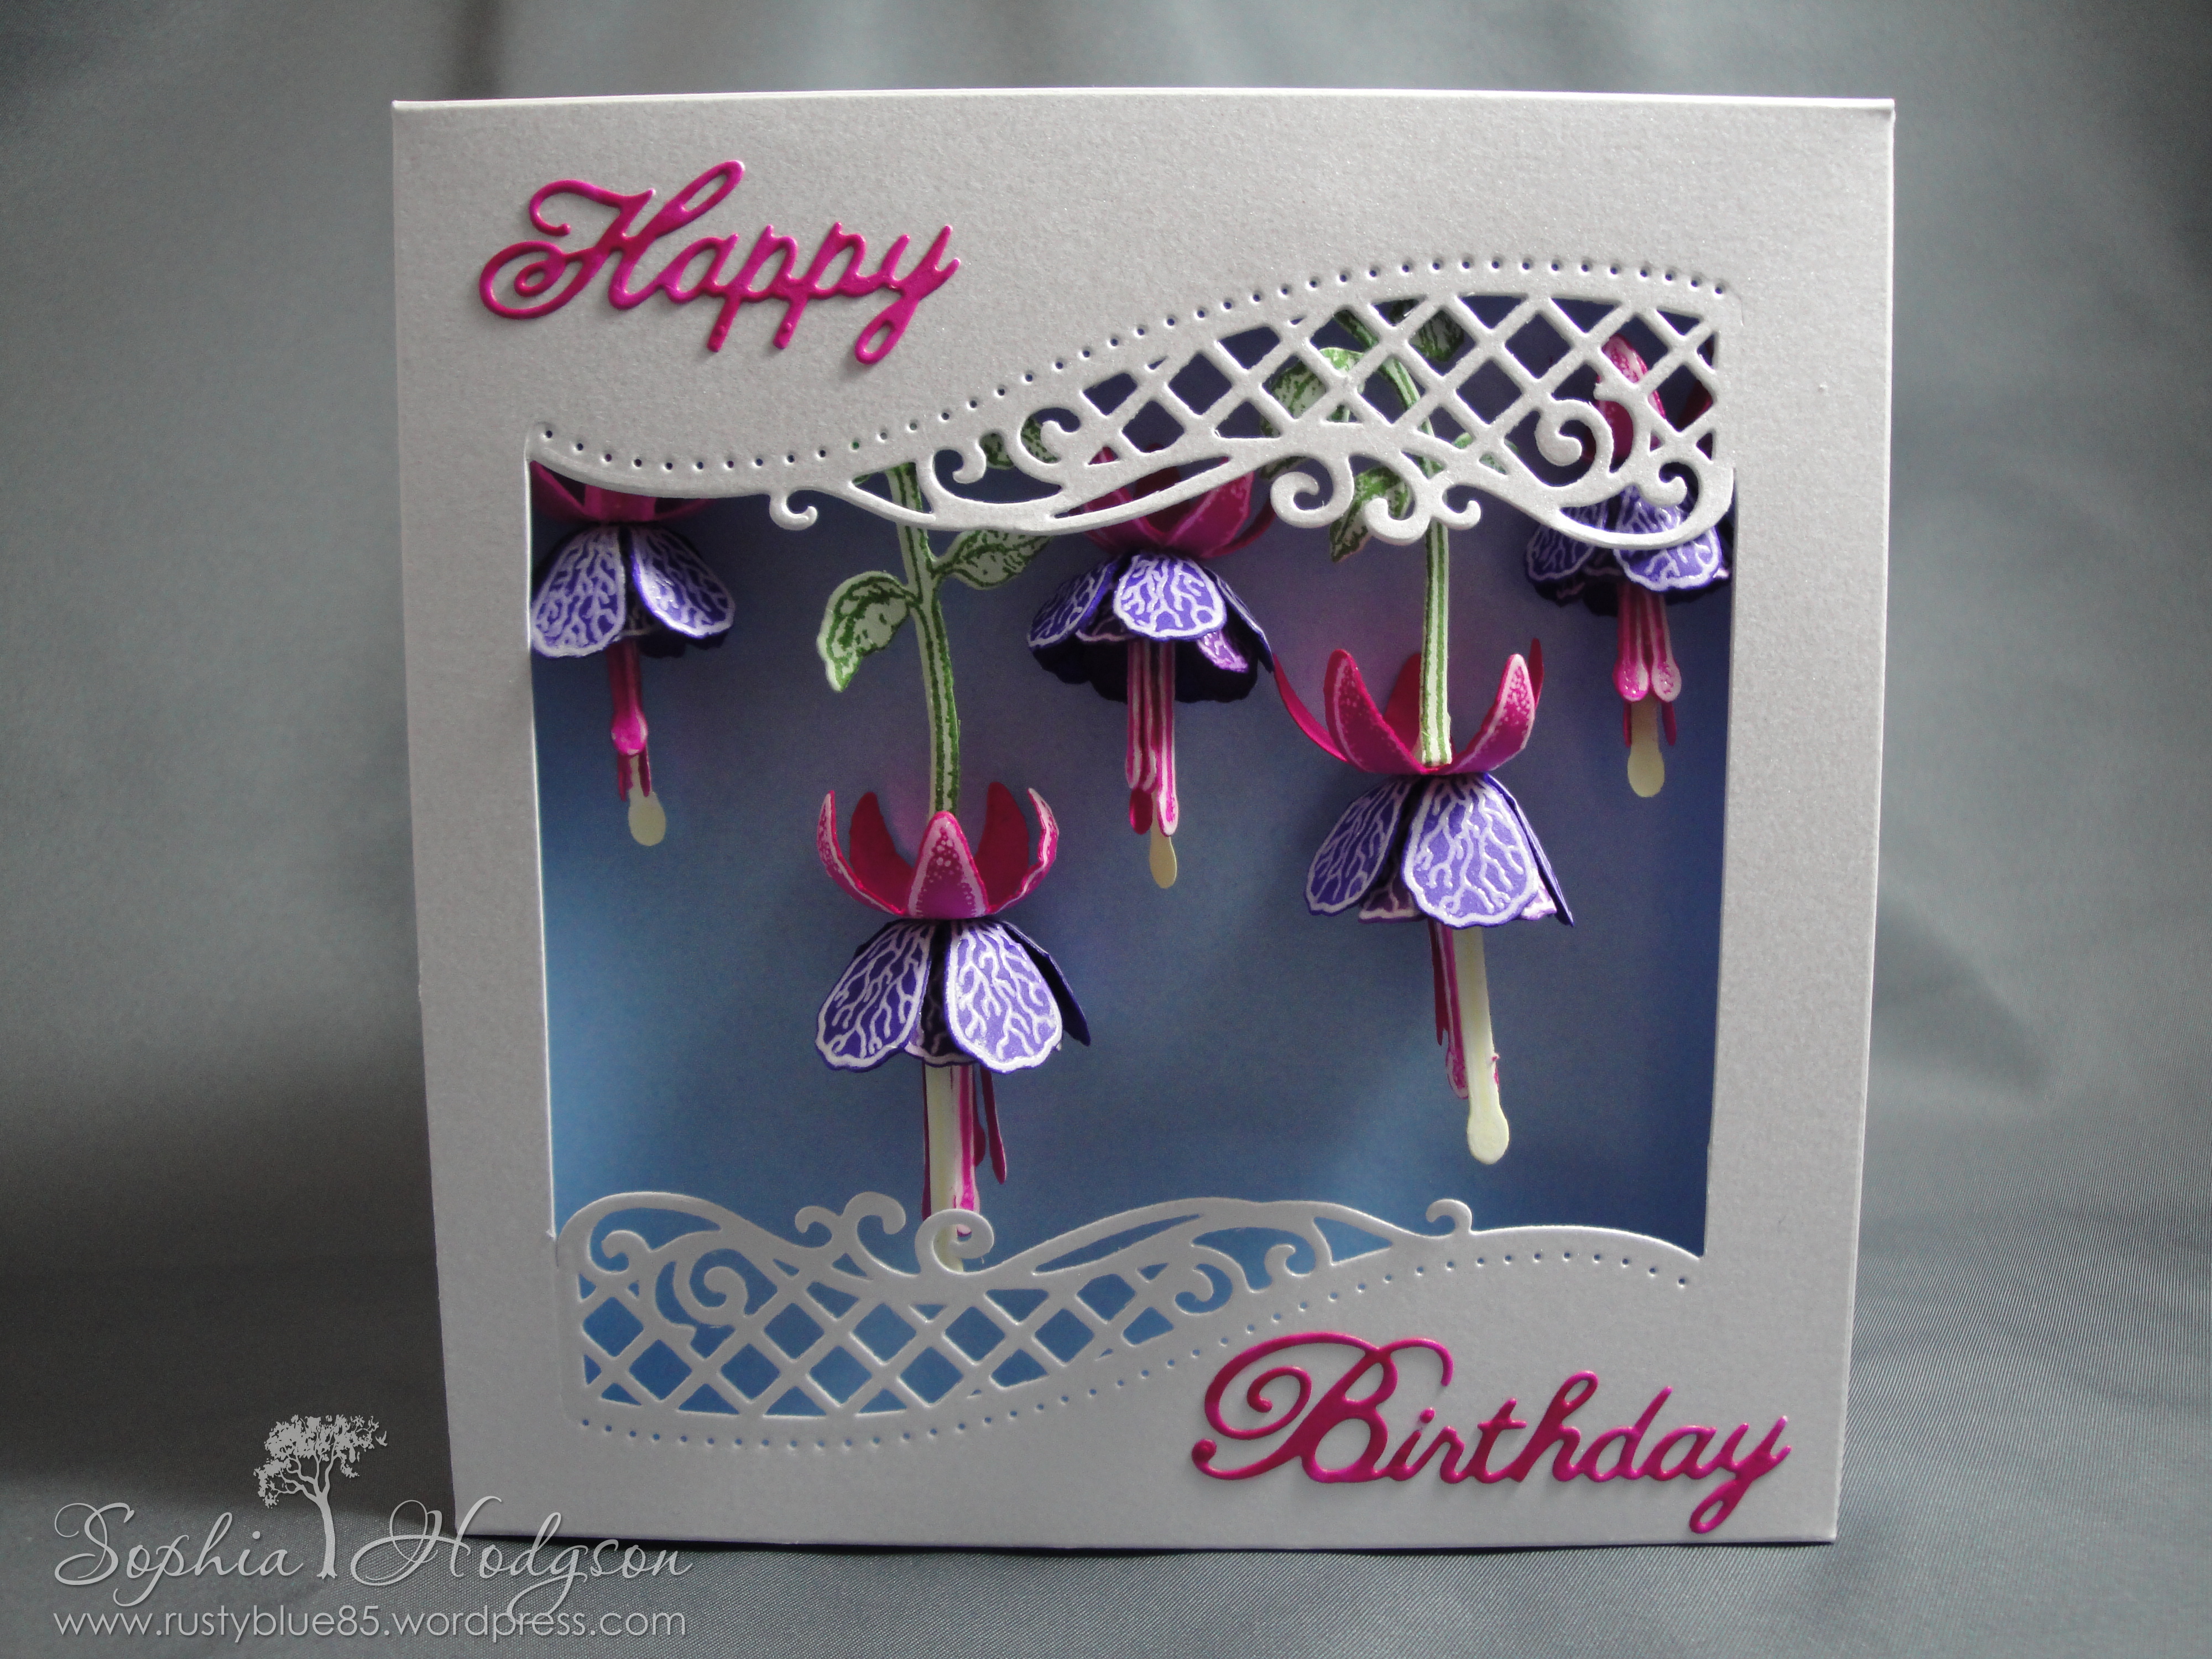
 I stuck the window to the front of a 6″x6″ card and stamped inside the card with the Waltzingmouse ‘Say it With Style’ Happy Birthday sentiment in Melon Mambo ink.
Last, but not least, I die cut the Cheery Lynn ‘Happy’ and ‘Birthday’ word dies from Neenah card, then coloured them with my BP6 Spectrum Noir pen. I adhered the words to the front of the card with Quicky Glue pen (I think the ink was still a bit wet because the glue seemed to turn pink & I had to manically rub at a pink glue smudge around the dot of the ‘i’ in birthday!!)
 I hope my step-Mother likes this cheery birthday card, and I hope this inspires you in your creativity. Enjoy the rest of your week!


Absolutely gorgeous card.