I saw the Rococo Faries dies on a certain craft selling TV channel & had to have them (and in just the click of a button my Tonic die collection has tripled!). My eye was taken by this stunning card by Karen on the Tonic Studios blog – I just think it’s amazing! So I hold my hands up and fully admit that this card is essentially a total rip-off of the card Karen made, but I just had to have something that lovely in my life!
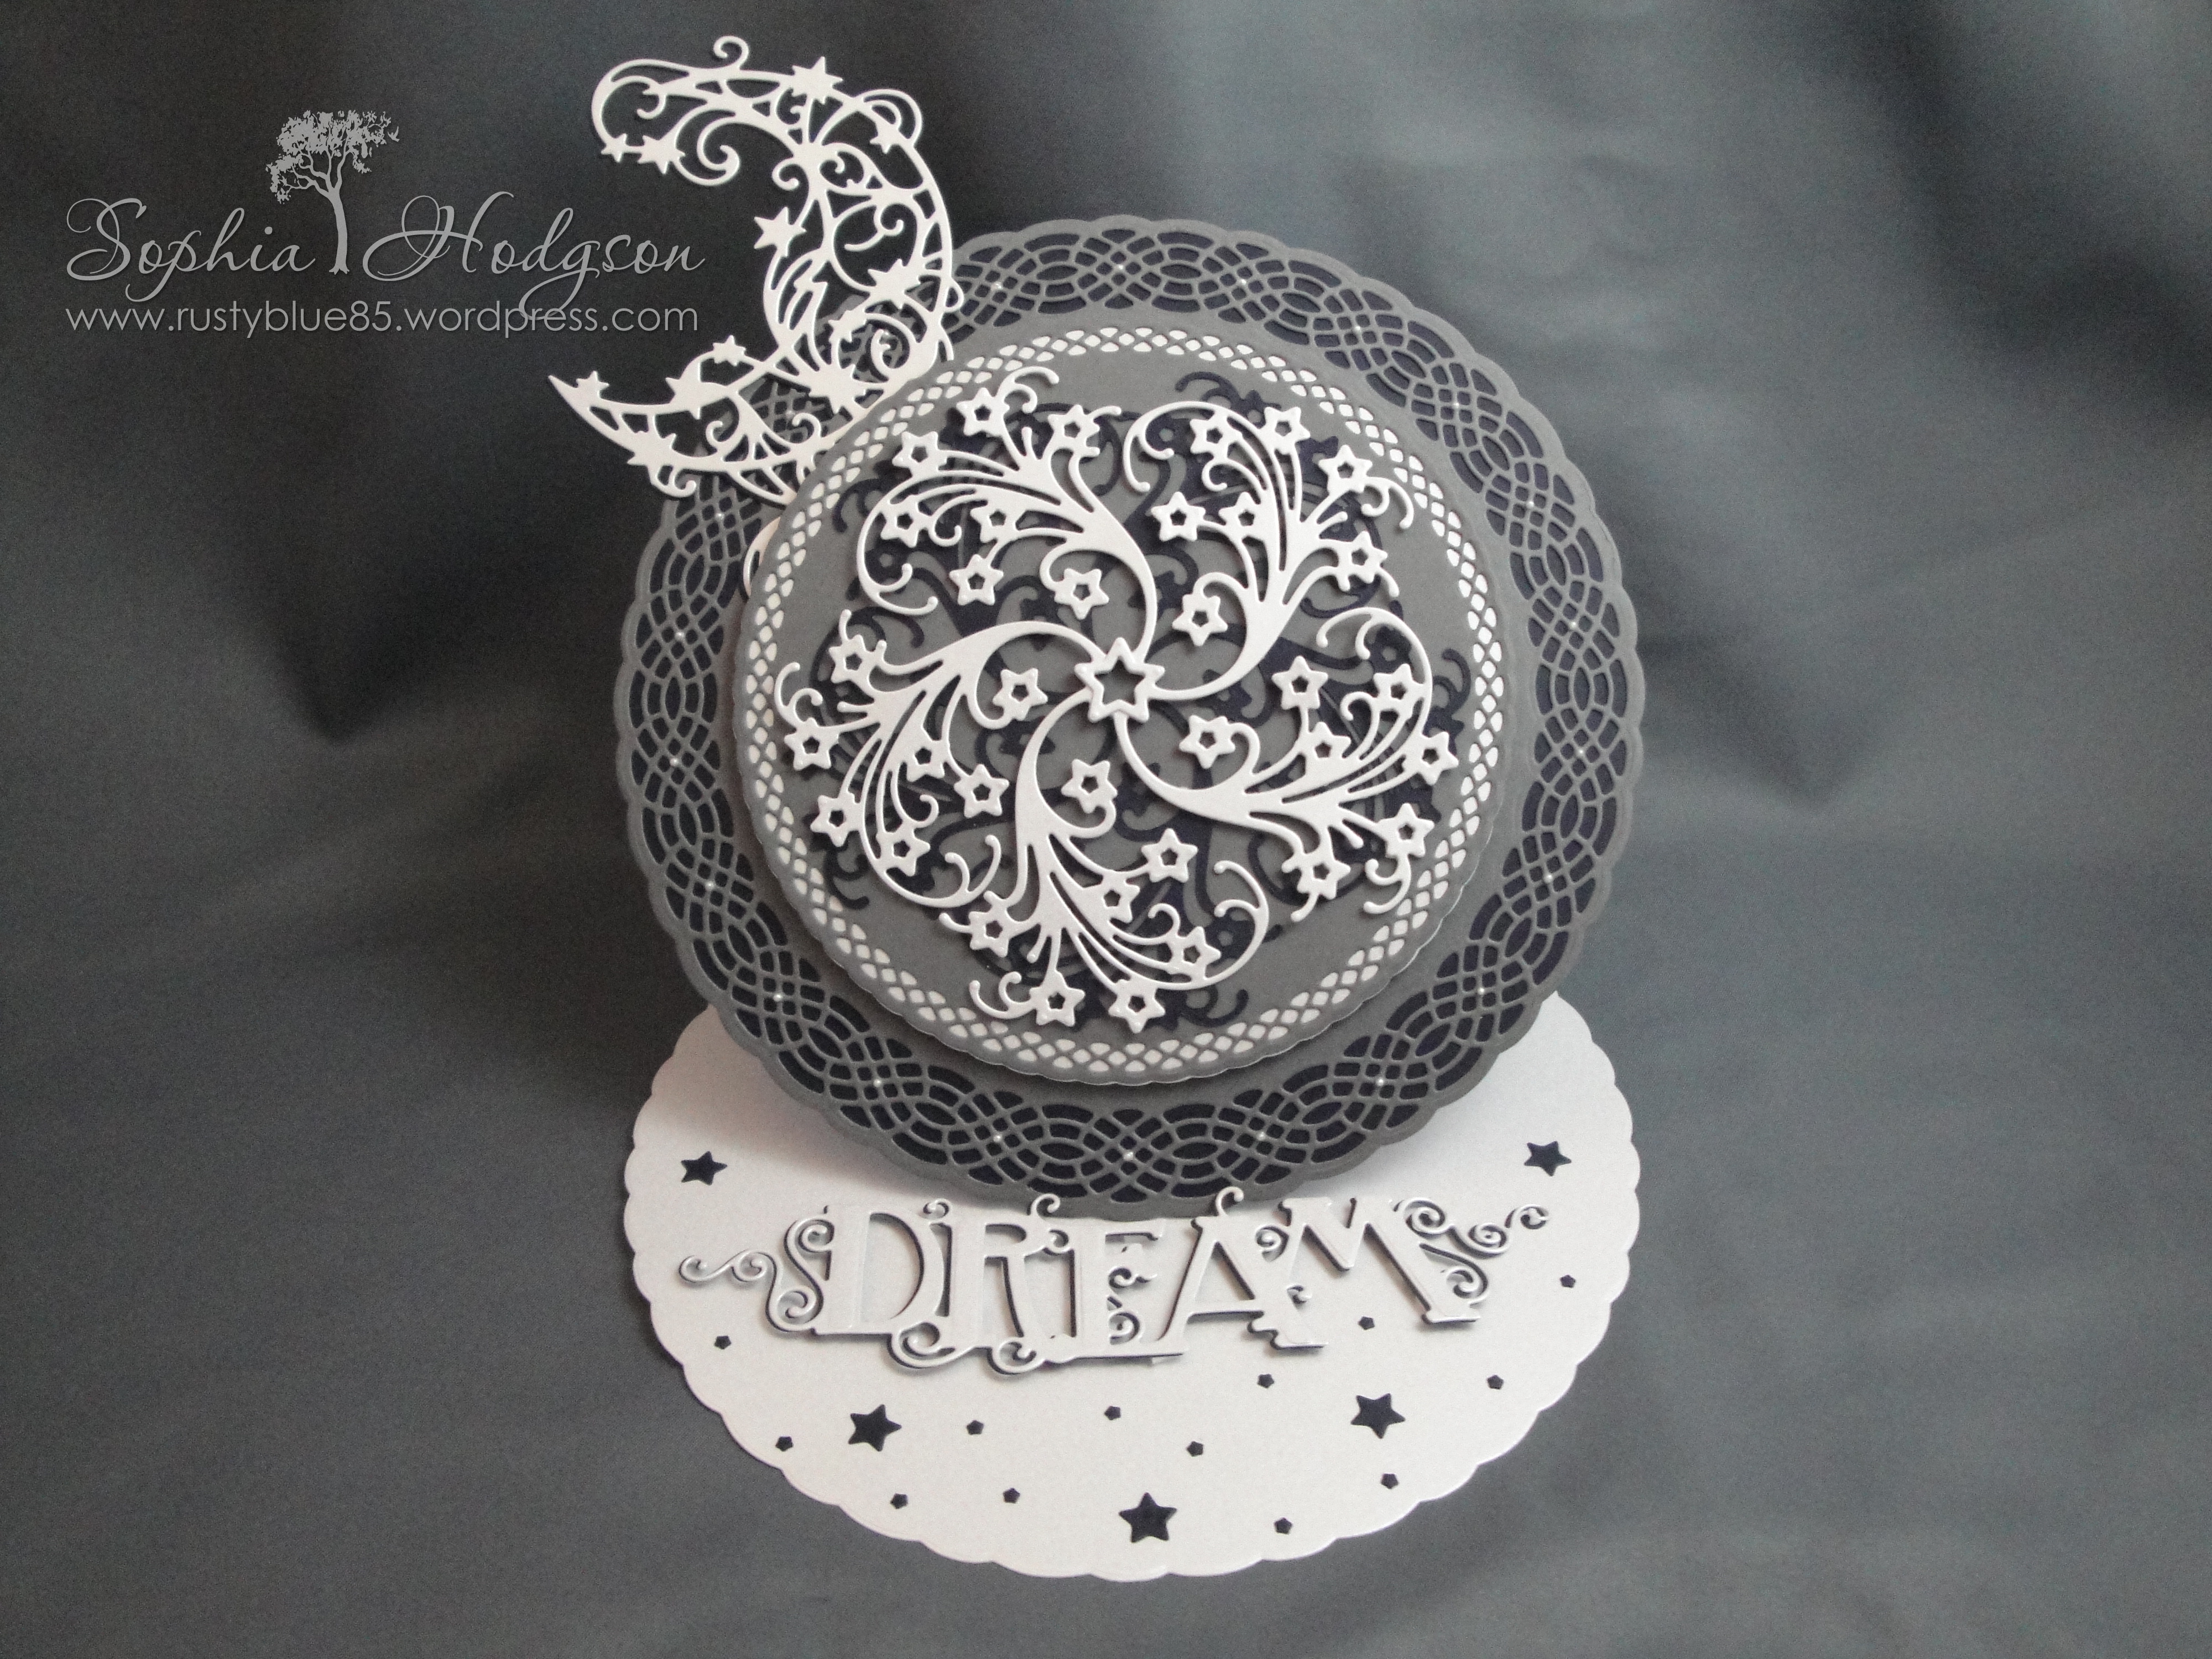
I loved the star trails arranged in a kind of infinity circle, but I wanted it in a ‘night time’ colour scheme so I could have stars & the Luna die together. I decided to use grey, dark navy and Centura Pearl Snow White Hint of Silver card stock. I already had the Celtic Dream Layering Die so I got to work on making the ‘base’ by cutting the second largest circle from two Centura Pearl sheets of card and one from the dark Navy. Next I tried the slightly more tricky bit of lining up the outside circle with the Celtic cut out bit on the grey card. Next I cut the smaller circle from Centura Pearl and the Celtic shape from Grey. I die cut 5 star trails from dark Navy and another 5 from Centura Pearl. Last but not least I cut Luna and the ‘Dream’ from the Inspirations Sentiment set from both Centrura Pearl and dark Navy. Phew! I had a bit of a sore arm after all that die cutting – such a shame it’s a workout for one arm only!
To construct the card I layered the grey cut out on the Dark Navy solid panel, let the Hi-Tack glue set. I also adhered the grey on top of the white Centura Pearl. In order to get the infinity star trail I turned the dark Navy cut outs around so the ‘back’ was facing outwards (this goes against my OCD so I would never have been able to create this card without the inspiration from Karen!) I had to cut off bits of the central star so there wasn’t a massive raised bit in the middle and used Hi-Tack glue to stick them all together to the central star, then I glued them down to the middle of the smaller grey Celtic circle.
This time with the Centrua Pearl Star Trails I again adhered them all to the central star so they became one piece, but added foam pads under the die so it would pop above the Navy Star Trails. Lining them all up so the central stars overlapped was fiddly, but I got there!
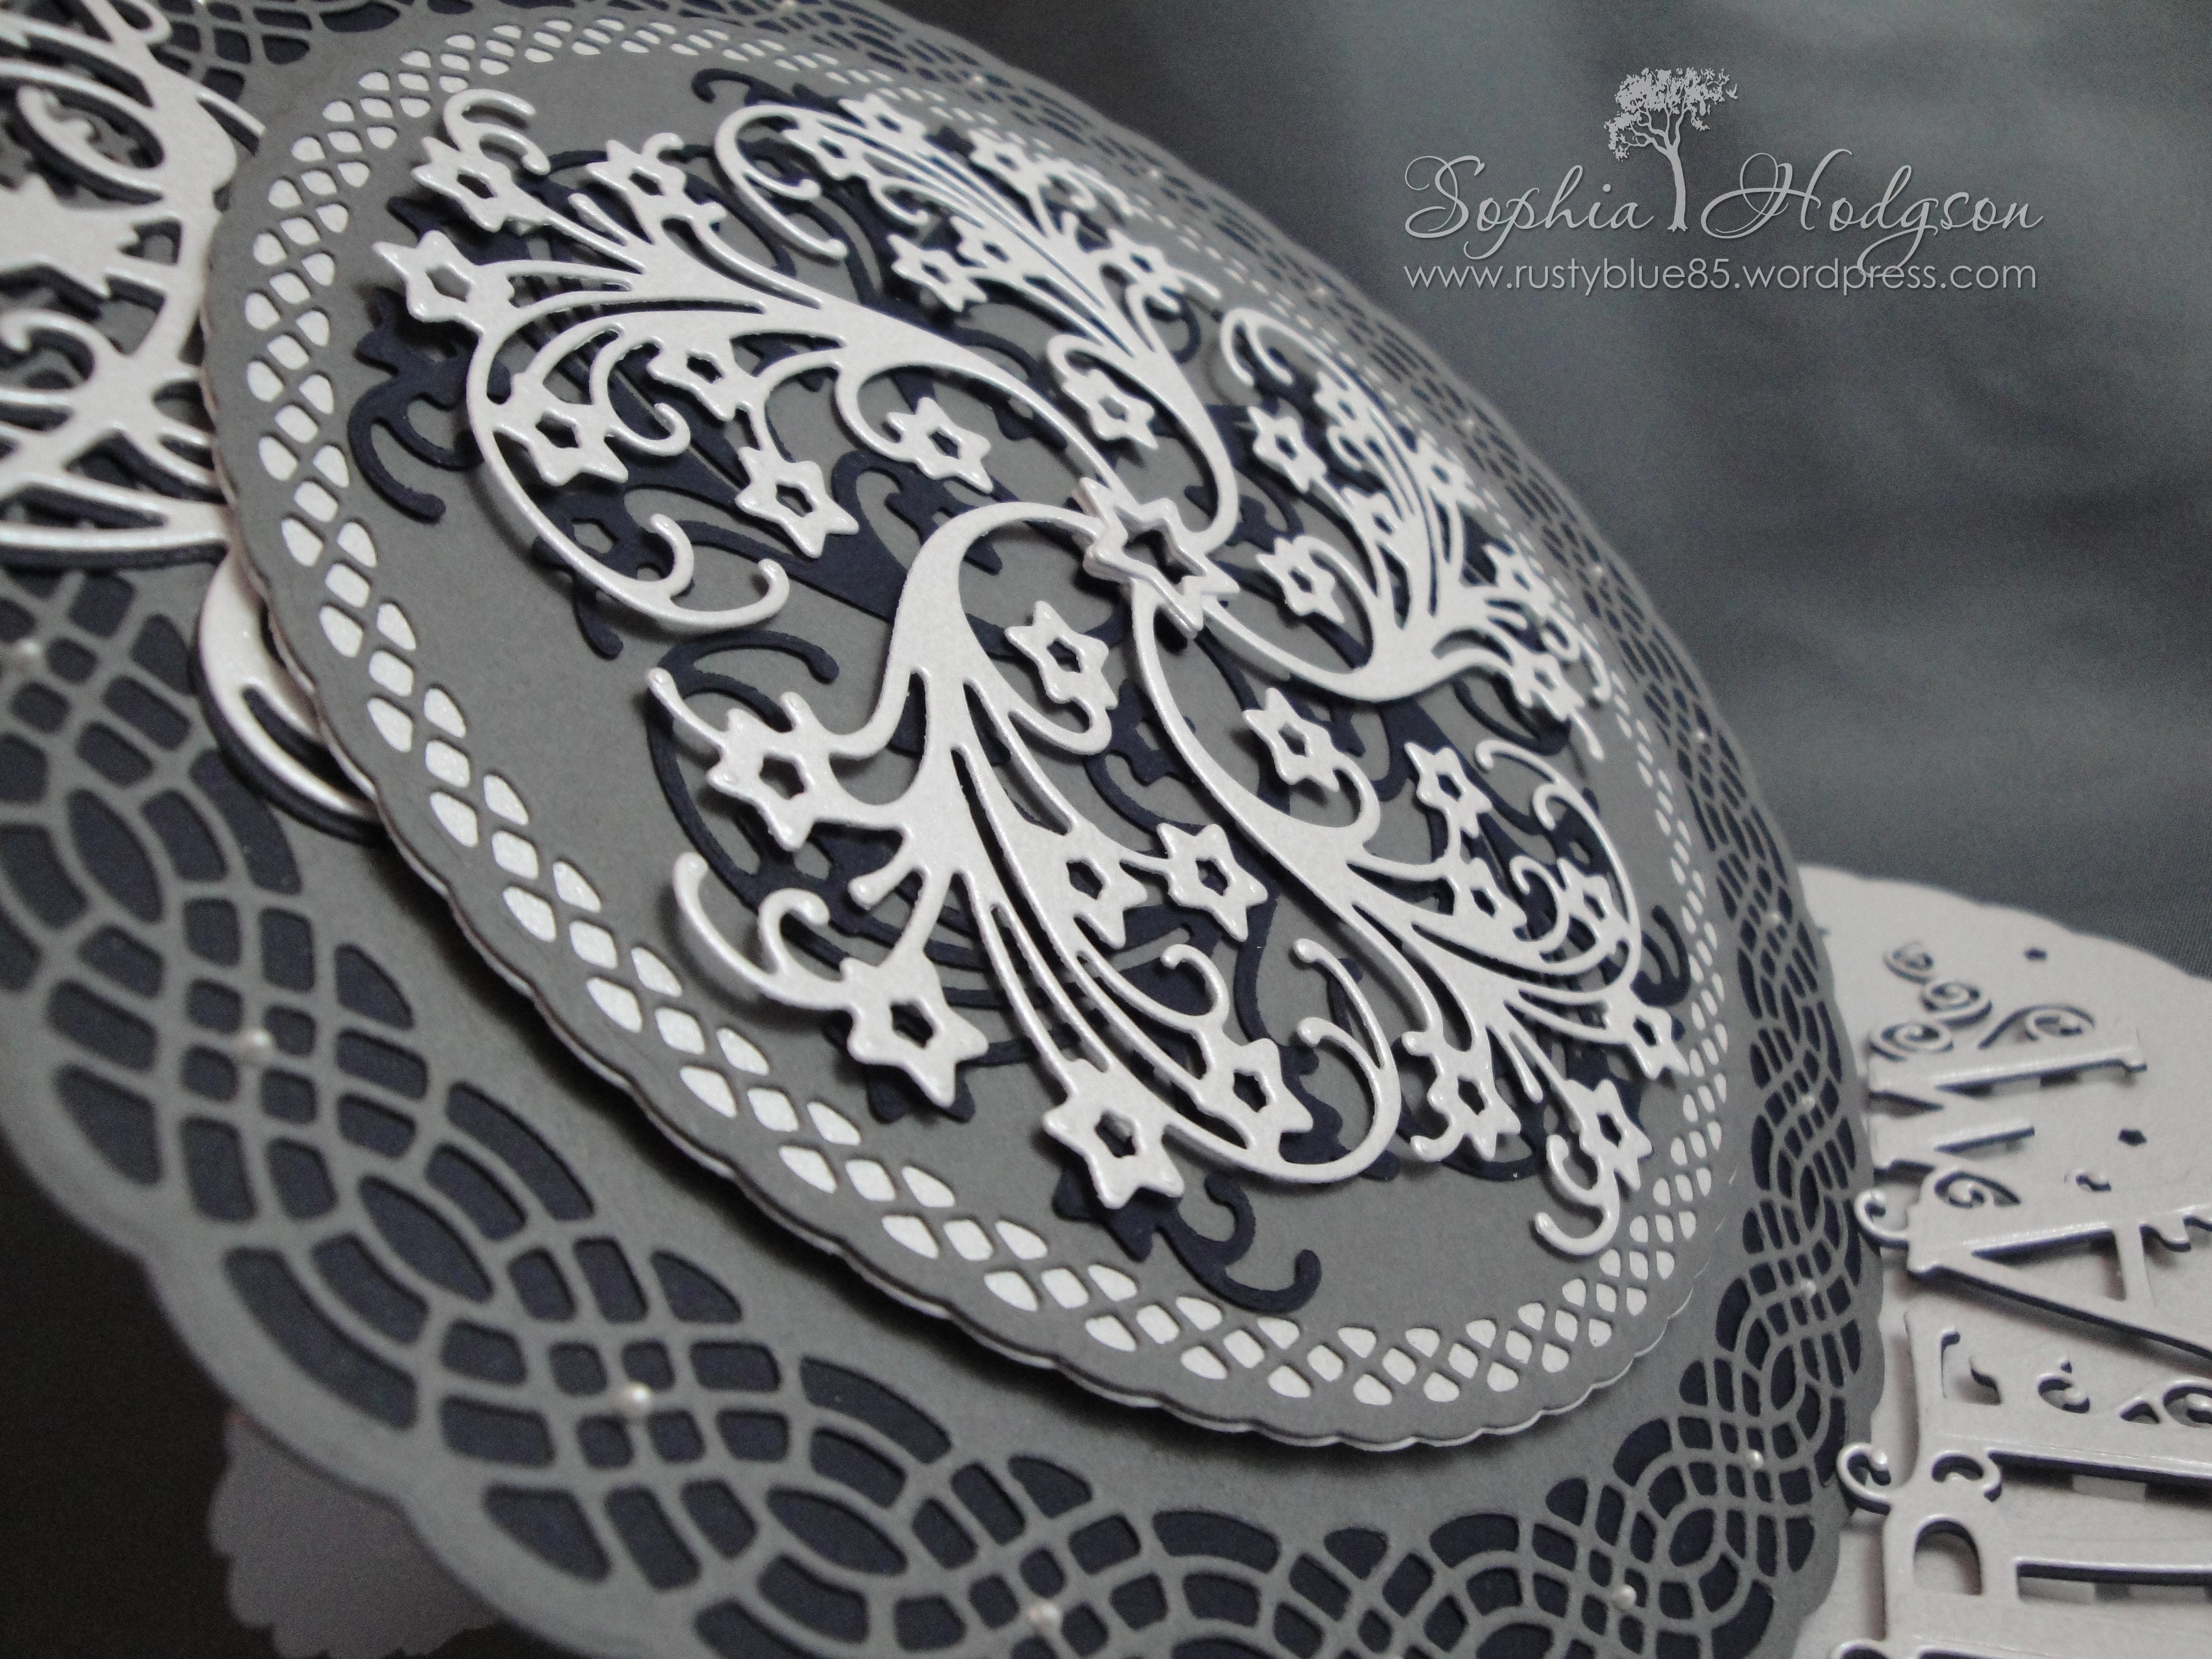
I covered the back of the smaller Celtic circle with foam sticky pads and stuck it in the middle of the larger circle. I added the drops of White Opal Liquid Pearls to the outer Celtic circle, then set it aside to dry.
Whilst the Liquid Pearls were drying I started work on the circle easel card (I’ve always wanted to try one!) one of the Centura Pearl ‘circles’ was scored so it would hing on the bottom of the easel and hold the Celtic circles in place, then the hinge was attached to the base with Hi-Tack glue.
Later when the Liquid Pearls were dry I attached the Circles to the easel base and I almost had a card – woo hoo! I attached the two ‘Dream’ cuts and two Luna cuts together so the ‘shadow’ was the same way, then I attached the Luna die cut at the top left of the Celtic circles, tucking it between the two layers. The ‘Dream’ sentiement will be the stop to hold the easel in place so I put it on dimentional foam pads to raise it up. I spent ages working out where I wanted it, but when I was done I was happy.
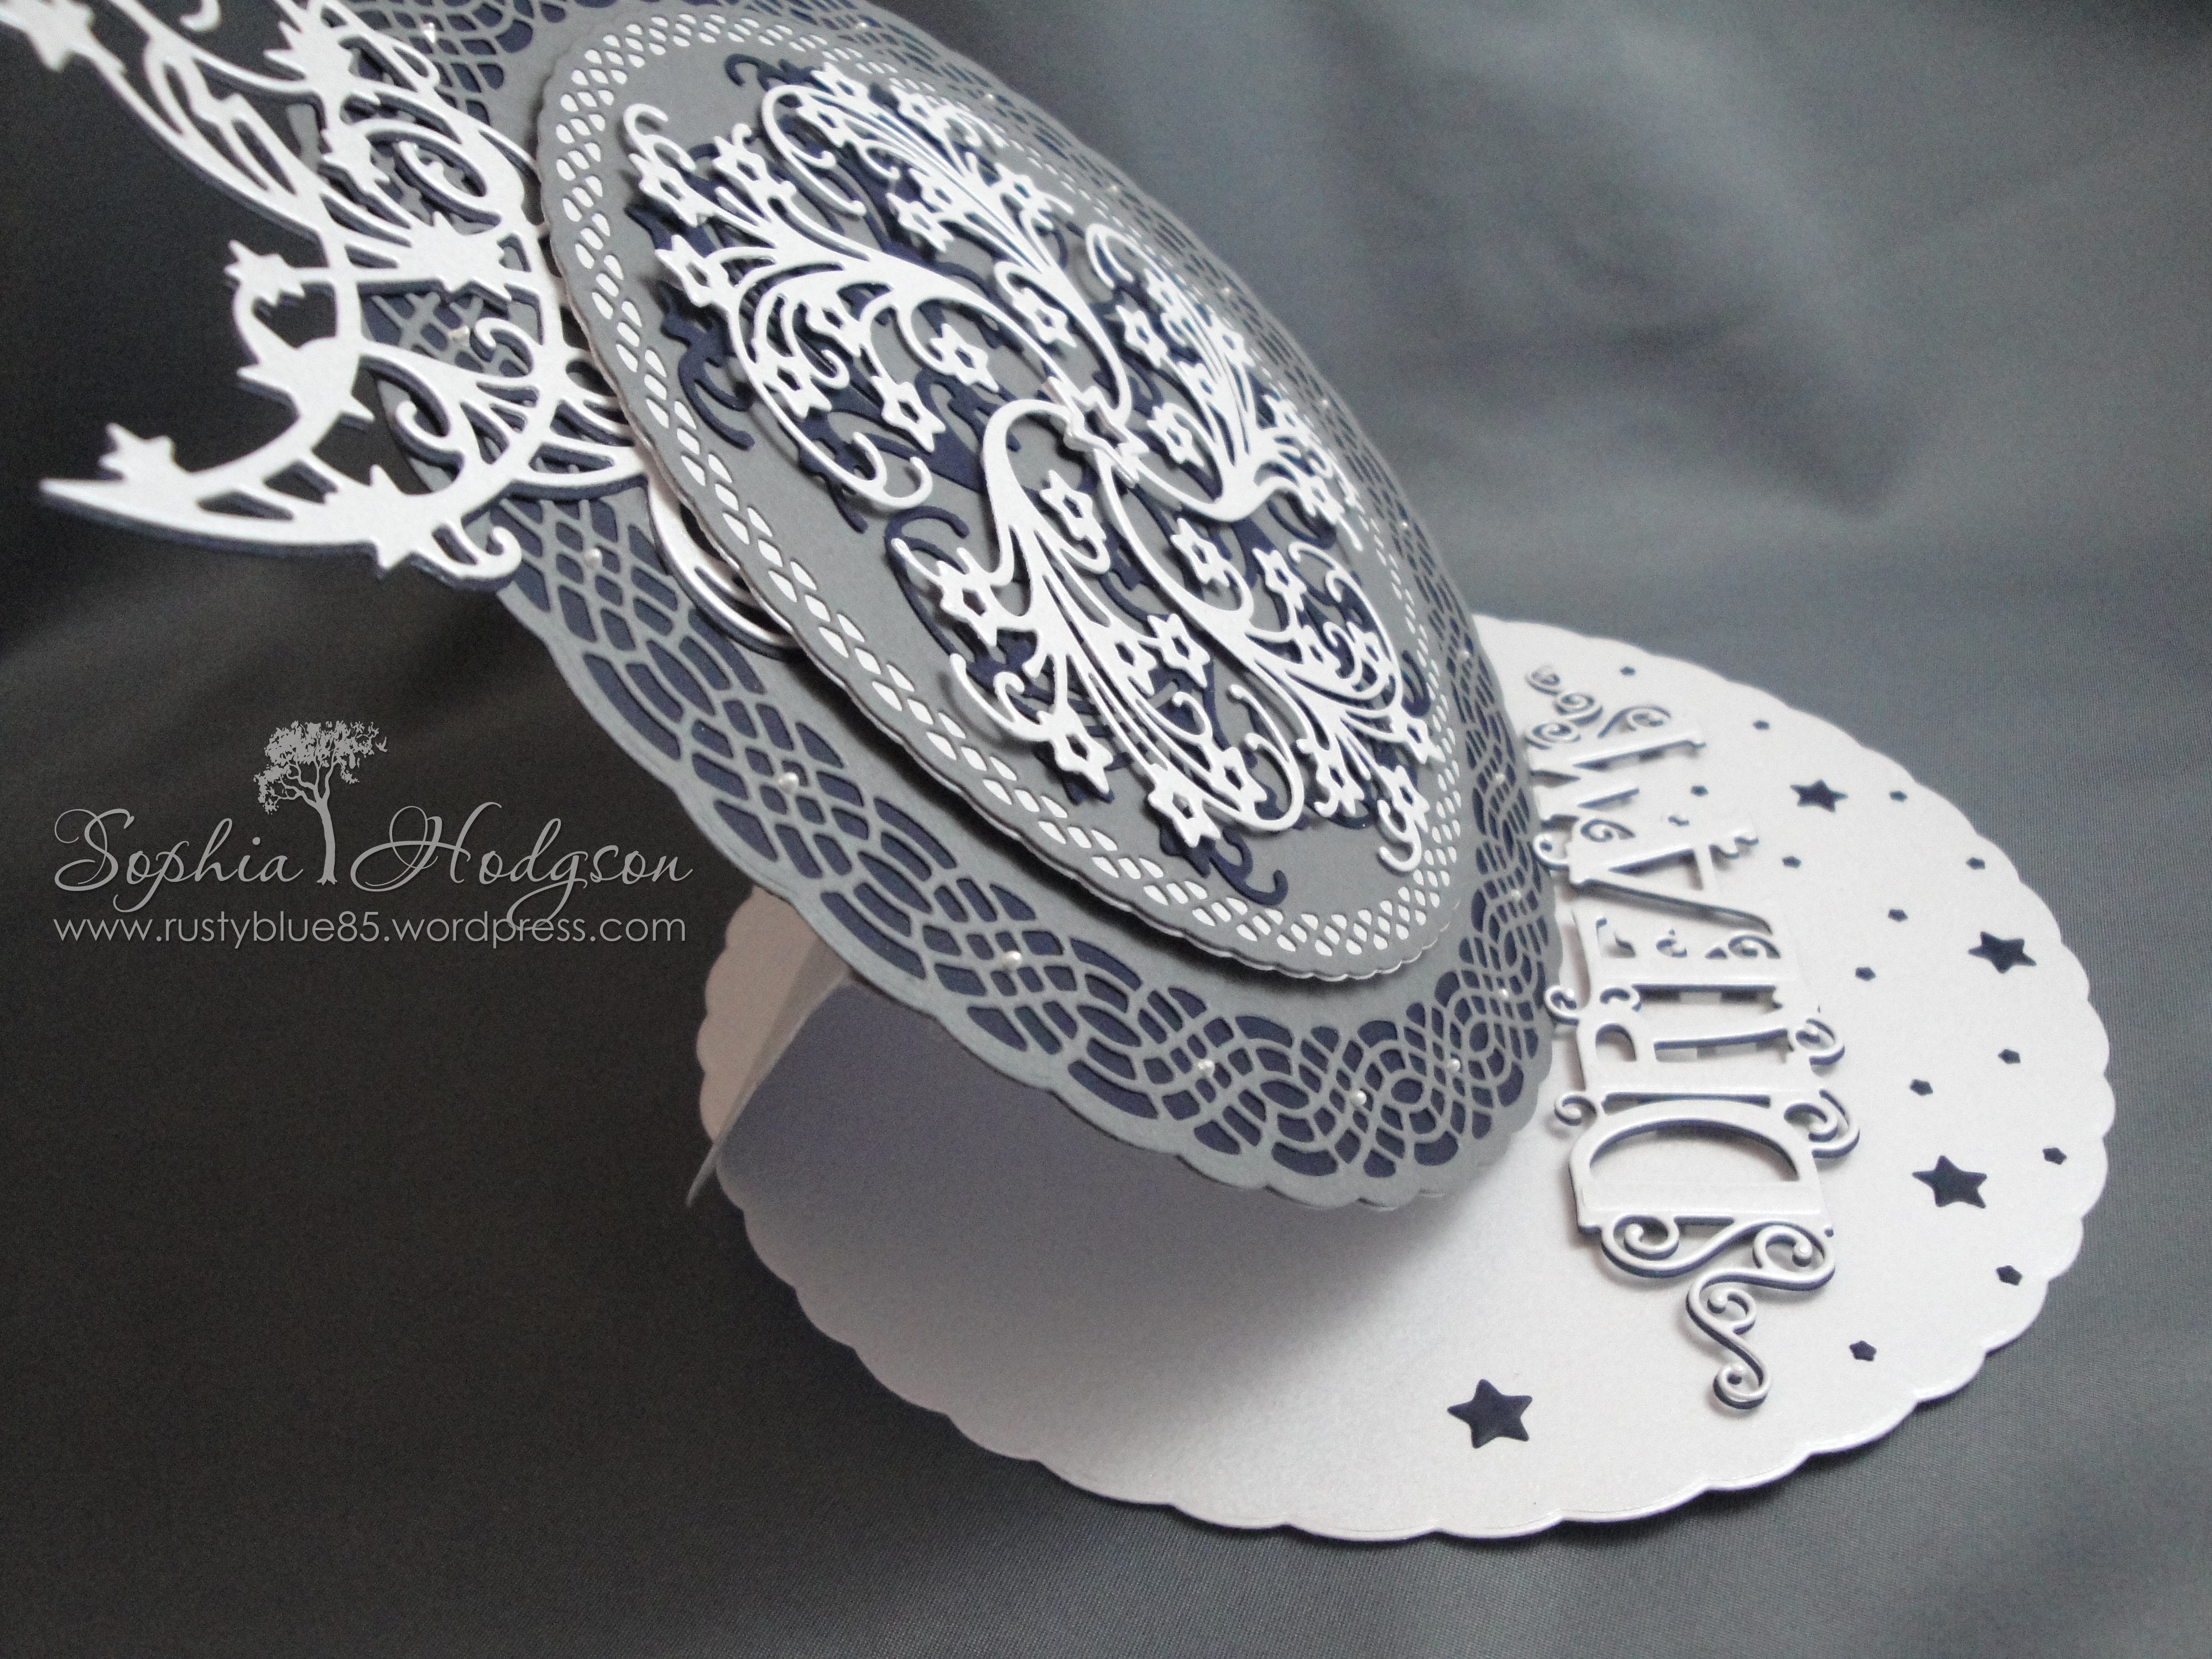
Last, but not least, I attached a few Navy stars that were from the waste of the Star Trail dies to the base of the easel to bring it all in together.
I hope you like my first circle easel card! I think I like it too much to give it away… Enjoy the rest of the Bank Holiday weekend (I’m afraid I’ll be working!)

